How to Produce Moringa Oil
Share
How to Produce Moringa Oil
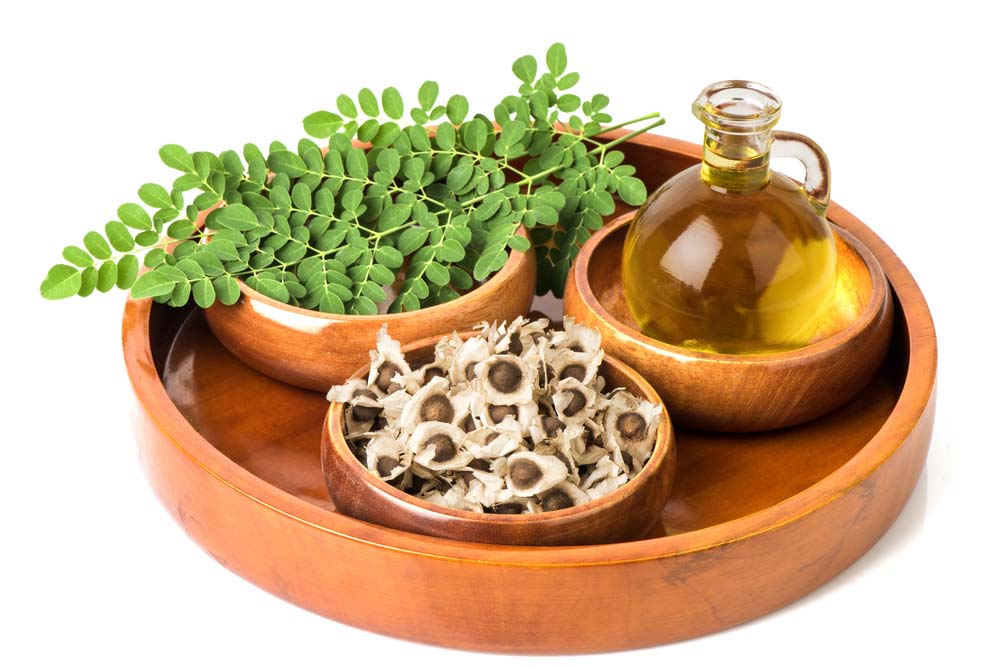
 There are many reasons why you might want to learn how to produce moringa oil at home. Many people have heard that common oils, like Olive oil, are not as pure as advertised and they want to know exactly what they are using. This is certainly understandable so we want to offer a guide to producing your own Moringa oil because we want our loyal customers to be informed about their options. We will always produce 100% pure, cold pressed, Extra Virgin, quality Moringa oil for those of you that do not want to spend the time and money to produce their own oil.
Moringa has gained a reputation around many parts of the world as a miracle of nature. There are so many health benefits to moringa, with each part of the plant helping us in some way. Moringa oil has many benefits of its own, for your skin, hair and overall health.
Here is a step-by-step look at how to produce moringa oil.
The best way to extract moringa is from the seeds. You will need the moringa seeds, a seed shelling machine and an oil press in order to get the job done. The oil press is electric, so make sure you have an electric socket nearby where you are planning to work.
Step 1: Seed Shelling
Take the shelling machine and turn it on. It will probably come with instructions that show you exactly how to remove the coats from moringa seeds. If the shelling process is complete, you can quickly move on to getting the oil out of the seed. This is important, because you do not want to leave the shelled seeds out for too long. The longer they are out of their shells, the lower quality oil you will obtain. Oil from seeds that sit out too long is darker and does not have as many health benefits.
Step 2: Start the Oil Press Machine
Make sure the oil press machine is connected to a power source and ready to go. Let the machine power up for a couple of minutes before you start adding the shells. There is a funnel on the machine that is made for pouring shells. Start pouring them into that funnel and you will see oil start to come out within a minute or two. If it seems as though nothing is happening, wait a few more minutes. Sometimes the first buildup of oil takes a little while to pour down. Based on research, you will need around 1 kilogram of seeds in order to get 120 ml of oil. This process produces the purest kind of moringa oil.
Step 3: Leave for a Few Days
When all your oil has come out of the pressing machine, you can let it settle properly for a few days. This process, which is called sedimentation, is essential before you do any packaging or bottling of your moringa oil. If you do not wait these extra few days, you will end up with rancid oil because the water molecules have not left it yet. You will also have cloudy oil as the seed residue needs to settle out. Seed residue does not effect the quality of the oil but it looks a lot better if it is not cloudy.
Step 4: Decant and Pour in Bottles
Use a clean container to decant your oil and then place it in bottles of the appropriate size.
If you make a mistake with one of the steps, do not get too upset. This is a learning process and some mistakes are essential to learning. When you have done a successful batch of moringa oil, you will know the right method for every future attempt.
The process to produce your own Moringa oil is time-consuming and does not save you significant money over simply purchasing the highest-quality, Extra Virgin Moringa oil. At Green Virgin Products, we’ve done the hard work for you so that you get 100% pure, cold pressed moringa oil every time. We also want you to be able to try it for yourself so we offer free shipping on all orders over $50 and hassle-free returns if you are not completely satisfied within 90 days. We are even offering a special discount when you use coupon code: 10off – to get 10% off your next order on our site today.


